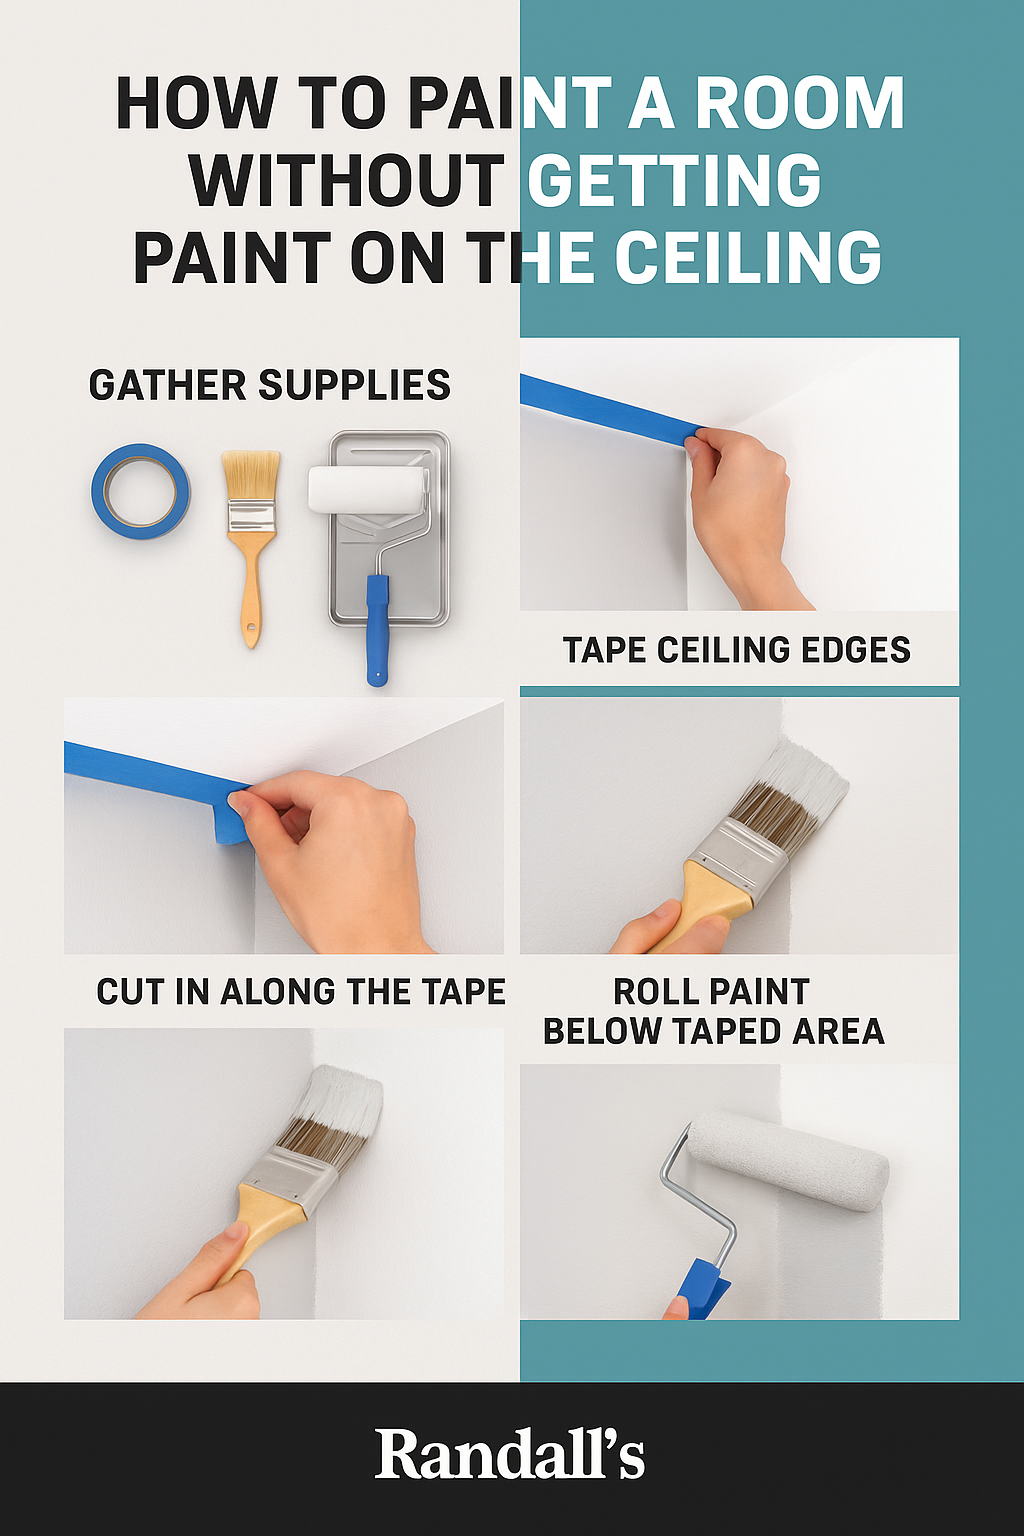
Painting a room can completely transform your space — but accidentally brushing paint onto the ceiling can turn a fun project into a tedious cleanup. With the right tools, prep work, and steady technique, you can achieve crisp, professional lines every time. Here’s a complete guide from the experts at Randall’s to help you paint like a pro.
1. Why does paint end up on the ceiling?
Paint mistakes usually happen when:
- You’re using too much paint on the roller or brush
- You skip taping or trimming properly
- You rush the cutting-in process near edges
- The roller is too close to the ceiling line
With the right preparation and control, these issues can be easily avoided.
2. What tools do I need to avoid painting the ceiling?
You’ll need:
-
Painter’s tape (high-quality, clean-release type)
-
Angled sash brush (for detailed edge work)
-
Roller with a guard (to control paint splatter)
-
Extension pole for reach
- Drop cloths and plastic sheeting to protect nearby surfaces
Find these tools in Randall’s collections
3. Should I tape the ceiling before painting the walls?
Yes — use painter’s tape where the wall meets the ceiling.
Press the tape firmly with a putty knife or your fingernail to seal the edge. This creates a clean barrier that prevents paint bleed and ensures a sharp line once removed.
4. How do I “cut in” without getting paint on the ceiling?
Cutting in means painting the wall edges near the ceiling before rolling the rest. To do it correctly:
- Dip only ⅓ of your angled brush into paint.
- Gently remove excess on the side of the can.
- Start about ½ inch below the ceiling and slowly guide the brush upward toward the edge.
- Use steady strokes and reload your brush frequently for even coverage.
This gives you full control and avoids overreach.
5. What’s the best technique for rolling paint near the ceiling?
- Use a roller shield or guard to prevent splatter.
- Start rolling at least 6 inches away from the ceiling and gradually move upward.
- Roll in smooth “W” or “M” motions rather than up-and-down strokes.
- Stop before the roller touches the tape line.
6. When should I remove the tape from the ceiling edge?
Remove the tape while the paint is still slightly wet. If you wait until it’s fully dry, the paint may peel off with the tape. Pull it off at a 45-degree angle for a crisp, clean edge.
7. Can I skip taping and just use a steady hand?
Yes — skilled painters often freehand cut in without tape. Use a high-quality angled sash brush and keep your wrist steady. Practice on less visible areas first if you’re new to this technique.
8. How do professionals avoid paint marks on ceilings?
Professionals rely on:
- Precision brushes and rollers
-
Consistent lighting to see where the paint is going
- Proper primer and paint consistency
- High-quality paint that spreads evenly and resists splatter
Randall’s servicescan connect you with professional painters who use expert techniques for flawless results.
9. What if I accidentally get paint on the ceiling?
Don’t panic. You can fix it easily:
- Wait for the wall paint to dry.
- Use a small artist’s brush or cotton swab to apply ceiling paint over the spot.
- Feather out the edges for a seamless blend.
10. Should I paint the ceiling or walls first?
Always paint the ceiling first, then the walls. This prevents ceiling drips from ruining freshly painted walls and gives you a neater finish overall.
11. How can Randall’s help?
Randall’s offers:
- Premium paint, brushes, and tape for clean, professional edges
- Expert advice through in-store specialists
- Access to trusted painters via our Painter Order Form
- Step-by-step guidance and supplies through our servicesand collections
If you’re unsure where to start, reach out through our Contact Uspage — our team is happy to help.
Avoiding paint on the ceiling isn’t about luck — it’s about precision. With the right tape, brushes, and technique, you can achieve crisp edges that look professional.
Whether you’re painting a cozy bedroom or an entire home, Randall’s has everything you need for a flawless, mess-free finish.
